Have you seen the new slate color of appliances GE has rolled out? It's sweet! If you're looking for a new set of appliances you have to check these out.

The Color
Plain old white is boring, lack-luster and, well, plain white.
Black is dark and messy. It shows finger prints, smudges, dings, dents and scratches very easily. Stainless steel is just as bad as black when it comes to showing defects and blemishes. If you clean black or stainless on Monday, by Friday it looks like a finger paint canvas. Not to mention that it can have a very cold, industrial styling to it.
Slate shows almost no finger prints or smudges. It's a warm, elegant color that matches many different colors of counter tops, cabinets and floors.You can make it stand out with really light or really dark colors or you can have it blend seamlessly with similar colors. Slate used a few accents like black and stainless but it's not an abundance.

The Appliances
GE's slate color appliances have a great selection to choose from.
- Refrigerators: GE currently makes 6 different refrigerators (described below).
- GFE29HMEES - 29 cuft bottom freezer french door with ice & water dispenser
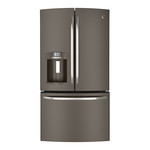
- GFE27GMEES - 27 cuft bottom freezer french door with ice & water dispenser
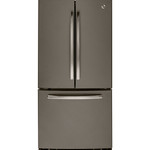
- GNE26GMDES - 26 cuft bottom freezer french door with icemaker
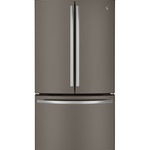
- GNE22GMEES - 22 cuft bottom freezer french door
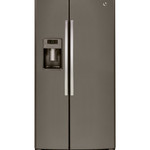
- GSE26HMEES - 26 cuft side by side with ice and water dispenser
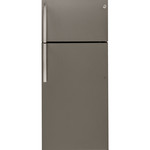
- GTM18GBEES - 18 cuft top freezer
- Ranges: GE currently makes 7 different ranges to choose from (described below)
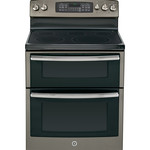
- JB850EFES - 30" electric free-standing double oven
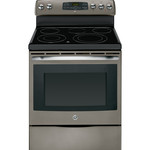
- JB750EFES - 30" electric free-standing convection

- JB650EFES - 30" electric free-standing
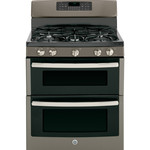
- JGB850EEFES 30" Free-Standing Double Oven Gas Range
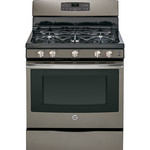
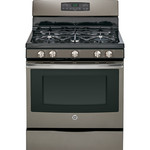
- JGB750EEFES 30" Free-Standing Gas Convection Range
- JGB690EEFES 30" Free-Standing Convection Gas Range
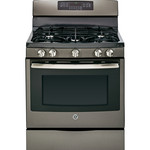
- JGB650EEFES GE Slate 30" Free-Standing Gas Range
- Microwaves: The slate color only comes in 2 different microwaves. Both are sensor cooking and they only come mounted over-the-range.


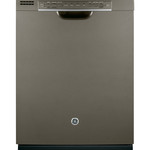
- Dishwashers: GE makes two dishwashers in the slate color. One is a top control panel model and the other is a front control panel model

=============================================
Please check out the package deal section of our website for deals on the color. We have great in-store discounts on the whole kitchen plus GE offers some rebates on these kitchens periodically as well.